

Top 10 Onsite Event Badge Printing Tips
Top 10 Onsite Event Badge Printing Tips.
When desiring to rock your in-person event these Top 10 Onsite Event Badge Printing tips will do just that for your conference. During an event people will reference event badges hundreds of times. Whether it is to connect with other attendees, track attendance or to enter restricted areas, they aren’t going anywhere without a badge. This unique identification is the first thing attendees see at an event. The only way to provide it is with an Onsite Badge Printing Kiosk where attendees can quickly get checked in to an event. Remember, first impressions are very important, so make sure you onsite badge printing is the best it can be. Here are the top 10 Onsite Event Badge Printing tips that can help you create the perfect event.
Use an Onsite Badge Printing Kiosks
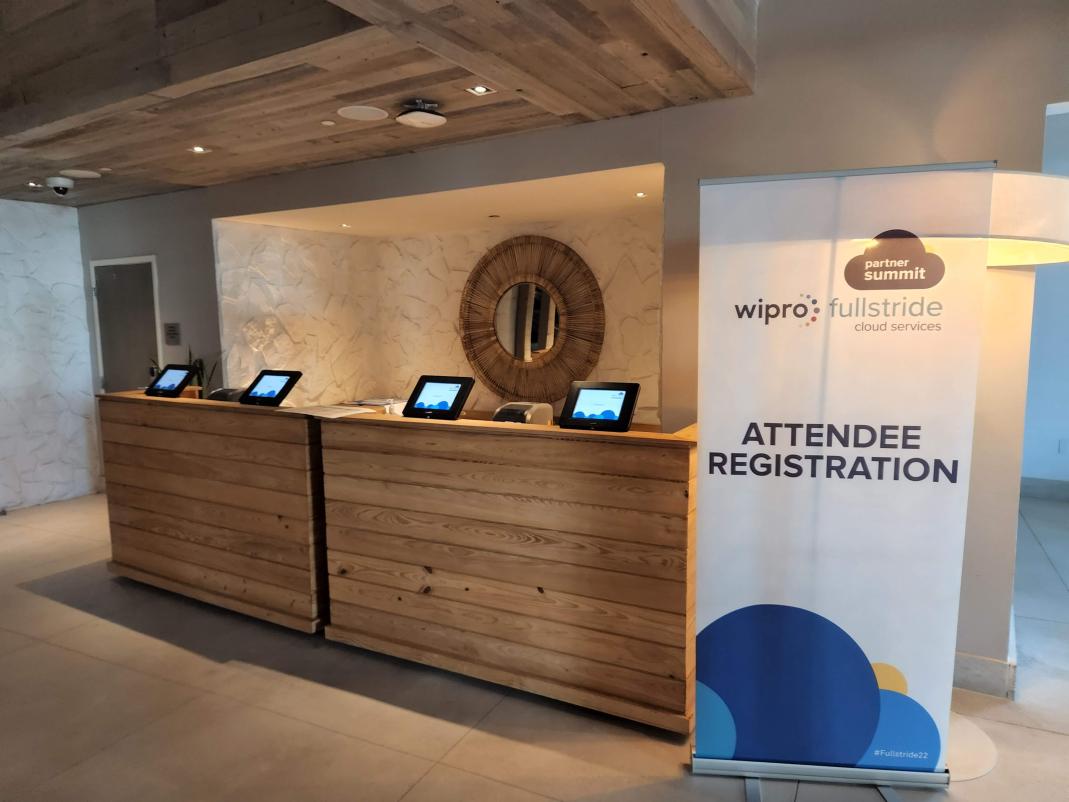
The on-site badge printing experience will change the way you think about events. Should badges be printed before or at the event? Never for large events and rarely for smaller meetings. Sifting through badges at a registration table is becoming less desirable. So many events, trainings and meeting are using digital check-in and onsite badge printing today. Doing anything else is becoming unnecessary as attendees are beginning to expect the digital experience. With On-Site event badge printing, registration teams also enjoy the experience of greeting and engaging attendees, instead of looking for a badge.
Provide a Touch Free Onsite Badge Printing Option
Many Onsite Badge Printing Kiosks don’t provide a touch free option. However, considering current health concerns we recommend picking a provider that allows this option. Once an attendee is registered via an online form or a registration kiosk, they will be sent a QR Code that can be used with their phone or a printed receipt. The attendee will simply allow the Kiosk to scan the code and their onsite badge will be printed and cut allowing the attendee to join the event without touching the kiosk.
Design a Great Onsite Badge Printing Kiosk Graphic
Make sure when the attendee sees the Onsite Badge Printing Kiosk that they know exactly what to do. Don’t clutter up the screen with unnecessary wording or images. Choose your image that will draw attention to the kiosk. Make sure the Start or Check-in button is large enough to see. I recommend beginning with a Welcome and the name of the event. When the attendee is done with onsite badge printing make sure there is a “Thank You” Message with any other instruction you deem appropriate.
Integrate QR Codes into the Onsite Badge Printing Experience
The first name is the most important thing users will read. Place the name on two lines with the first name as a larger font. Be sure your QR Code is a part of the design and do not put this on the back. Easy access to events, attendance tracking, contact sharing are all done through QR Code. Eventur Onsite Event Badge Printing will change your event.
Late Onsite Arrivals and Badge Reprints
Having access to On-Site event badge printers offers the ability to provide name changes, add attendees and reprint lost or damaged badges. These added benefits are differentiators for events and are becoming required features for onsite event badge printing. Be sure to consider on-site badge printing for even the smallest events to impress your attendees, add flexibility and empower your team.
More on the Top 10 Onsite Event Badge Printing Tips
Use a Good Graphic Artist
Please take no offense event planners and managers, but most of you are not the graphics expert. A graphics artist and or marketing person should be leading the badge design team. The best materials and prettiest colors cannot overcome poor design. Be sure that any static information about the event be included in the design. Year of the event, lunch breaks or evening events can be included either on the front or back. Any variable data needs to be considered too, making sure that the designs allow for the unique information about attendees. Don’t underestimate the importance of the onsite event badge printing software.
Color is a Must for Onsite Event Badge Printing
Never, never allow someone to convince you to have just black on white. This conveys the meeting isn’t that important and the attendees aren’t important. This is never the impression you want to leave. When color is the standard, you don’t want to demonstrate less than that. Remember, onsite badge printing reflects your organization and event. Some Attendees keep these after the event is over as a reminder of their experience. The badge is king, at any event if you use Onsite Event Badge Printing.
Size Matters
I can never say this too often, too small is really, really, bad. Small badges mean small graphics and text, which leads to readability issues and a poor impression. While I am sure carrying an 8X6 inch PVC badge around my neck is overkill, I am not a fan of small badges too. Anything smaller than a 4X3 is a mistake. My favorite, especially for first time events is a 4X6 badge for onsite badge printing.
Another consideration is what font size is used. Don’t ever choose a small font that is unreadable from more than about 6 feet. Nothing is worse than squinting when trying to determine someone’s name or where they are from. Identification is why the badge exists, so make it read well with large fonts.
Material Choices
Once great design is created choose the right paper quality, type, holder and lanyards. My favorite material is a glossy heavy stock that tears easily from the printer. This colors pop and a glossy ink to match will read well. Other options like PVC badge with the use of labels can be attractive. Remember to always consider onsite badge printing on two sides. When using Onsite Event Badge Printing Kiosks two sided badges allow for additional information and is helpful if your badge gets turned around. Be use your onsite badge printing kiosk allows for two-sided badges.
Print Onsite What is Most Important
Choosing what information goes on the onsite event badge is not easy. Here are a few thoughts to consider.
Don’t make the mistake of not leaving enough room on the badge for basic information or making the fonts too large or making the fonts too small. Reconciling these differences during the onsite badge printing design process is critical.
Be sure to consider other information like attendee title, company, location and sometimes user type or groups. Pick an Onsite badge printing kiosk provider that allows the attendee to edit the information on their event badge. The user type or group is usually at the bottom displaying, Attendee, Speaker, and Exhibitor. Consider location, like City, and state or country for international or government events. If it is not highly important, don’t print it using the Eventur Onsite Event Badge Printing solution.
Share the top 10 onsite badge printing tips
Utilizing the top 10 onsite badge printing tips will help tackle the process of making a great onsite event badge. With the right approach, team effort and good design, great event badges make your brand shine. It also saves team resources and put smiles on your attendee’s face. Onsite Event Badge Printing will change your events forever. You will never go back to Pre-conference manual badge printing ever again! Share the top 10 onsite badge printing tips with your team and make the perfect event badge for your next event.